Error Management
Installation
Enabling Scout’s Error Management is straightforward and works with your existing Scout APM setup. If you’re already using Scout, all you need to do is enable Errors for you application and set a single configuration variable.
Configuration
Simply set the following environment variable or add it to your scout_apm.yml configuration file:
# scout_apm.yml
errors_enabled: true
Or via environment variable:
SCOUT_ERRORS_ENABLED=true
Once enabled, Scout will automatically begin capturing and organizing errors from your application.
Overview
Scout’s Error Management provides comprehensive error tracking and triage capabilities designed to help development teams efficiently identify, prioritize, and resolve application issues. By integrating seamlessly with Scout APM, error data is automatically enriched with performance context, making it easier to understand the full impact of errors on your application.
Key features include:
- Error Grouping: Similar errors are automatically grouped together for easier management
- Smart Prioritization: Critical endpoint errors are automatically flagged as high priority
- Team Collaboration: Assign errors to team members for clear ownership and organization
- Flexible Triage: Resolve, defer, or reactivate errors with full audit trails
- Rich Context: View error traces with GitHub integration for immediate code visibility
- Bulk Operations: Efficiently manage multiple error groups simultaneously
Error Management Home
The Error Management home page provides a comprehensive overview of your application’s error landscape. This central dashboard displays error groups - collections of similar errors that have been automatically organized for efficient management.
Error Summary
At the top of the page, you’ll find key metrics for your selected timeframe:
- Total Errors: The complete count of error occurrences
- New Errors: Errors that first appeared during the selected time period
- Critical Endpoint Errors: Errors from endpoints marked as critical (automatically high priority)
Error Groups
The main interface displays error groups in a sortable table with the following information:
- Error Name/Type: The specific error class or message
- Location: Where the error occurred in your codebase
- Sparkline: Visual representation of error frequency over time
- Event Count: Total occurrences and recent activity
- Request URI: The endpoint where errors occurred
- Assignment: Team members responsible for resolution
- Priority: Error priority level (Low, Medium, High)
Bulk Actions
The interface supports efficient bulk operations on selected error groups:
- Resolve: Mark error groups as resolved, removing them from the default view
- Assign: Assign error groups to specific team members
- Prioritize: Set priority levels for multiple errors simultaneously
Filtering and Views
Use the filtering controls to focus on specific error states:
- Unresolved: Show only active error groups (default view)
- Resolved: Display previously resolved error groups
- All: Show both resolved and unresolved errors
Additional filters allow you to narrow results by priority, assignment, or other criteria.
Error Details & Triage
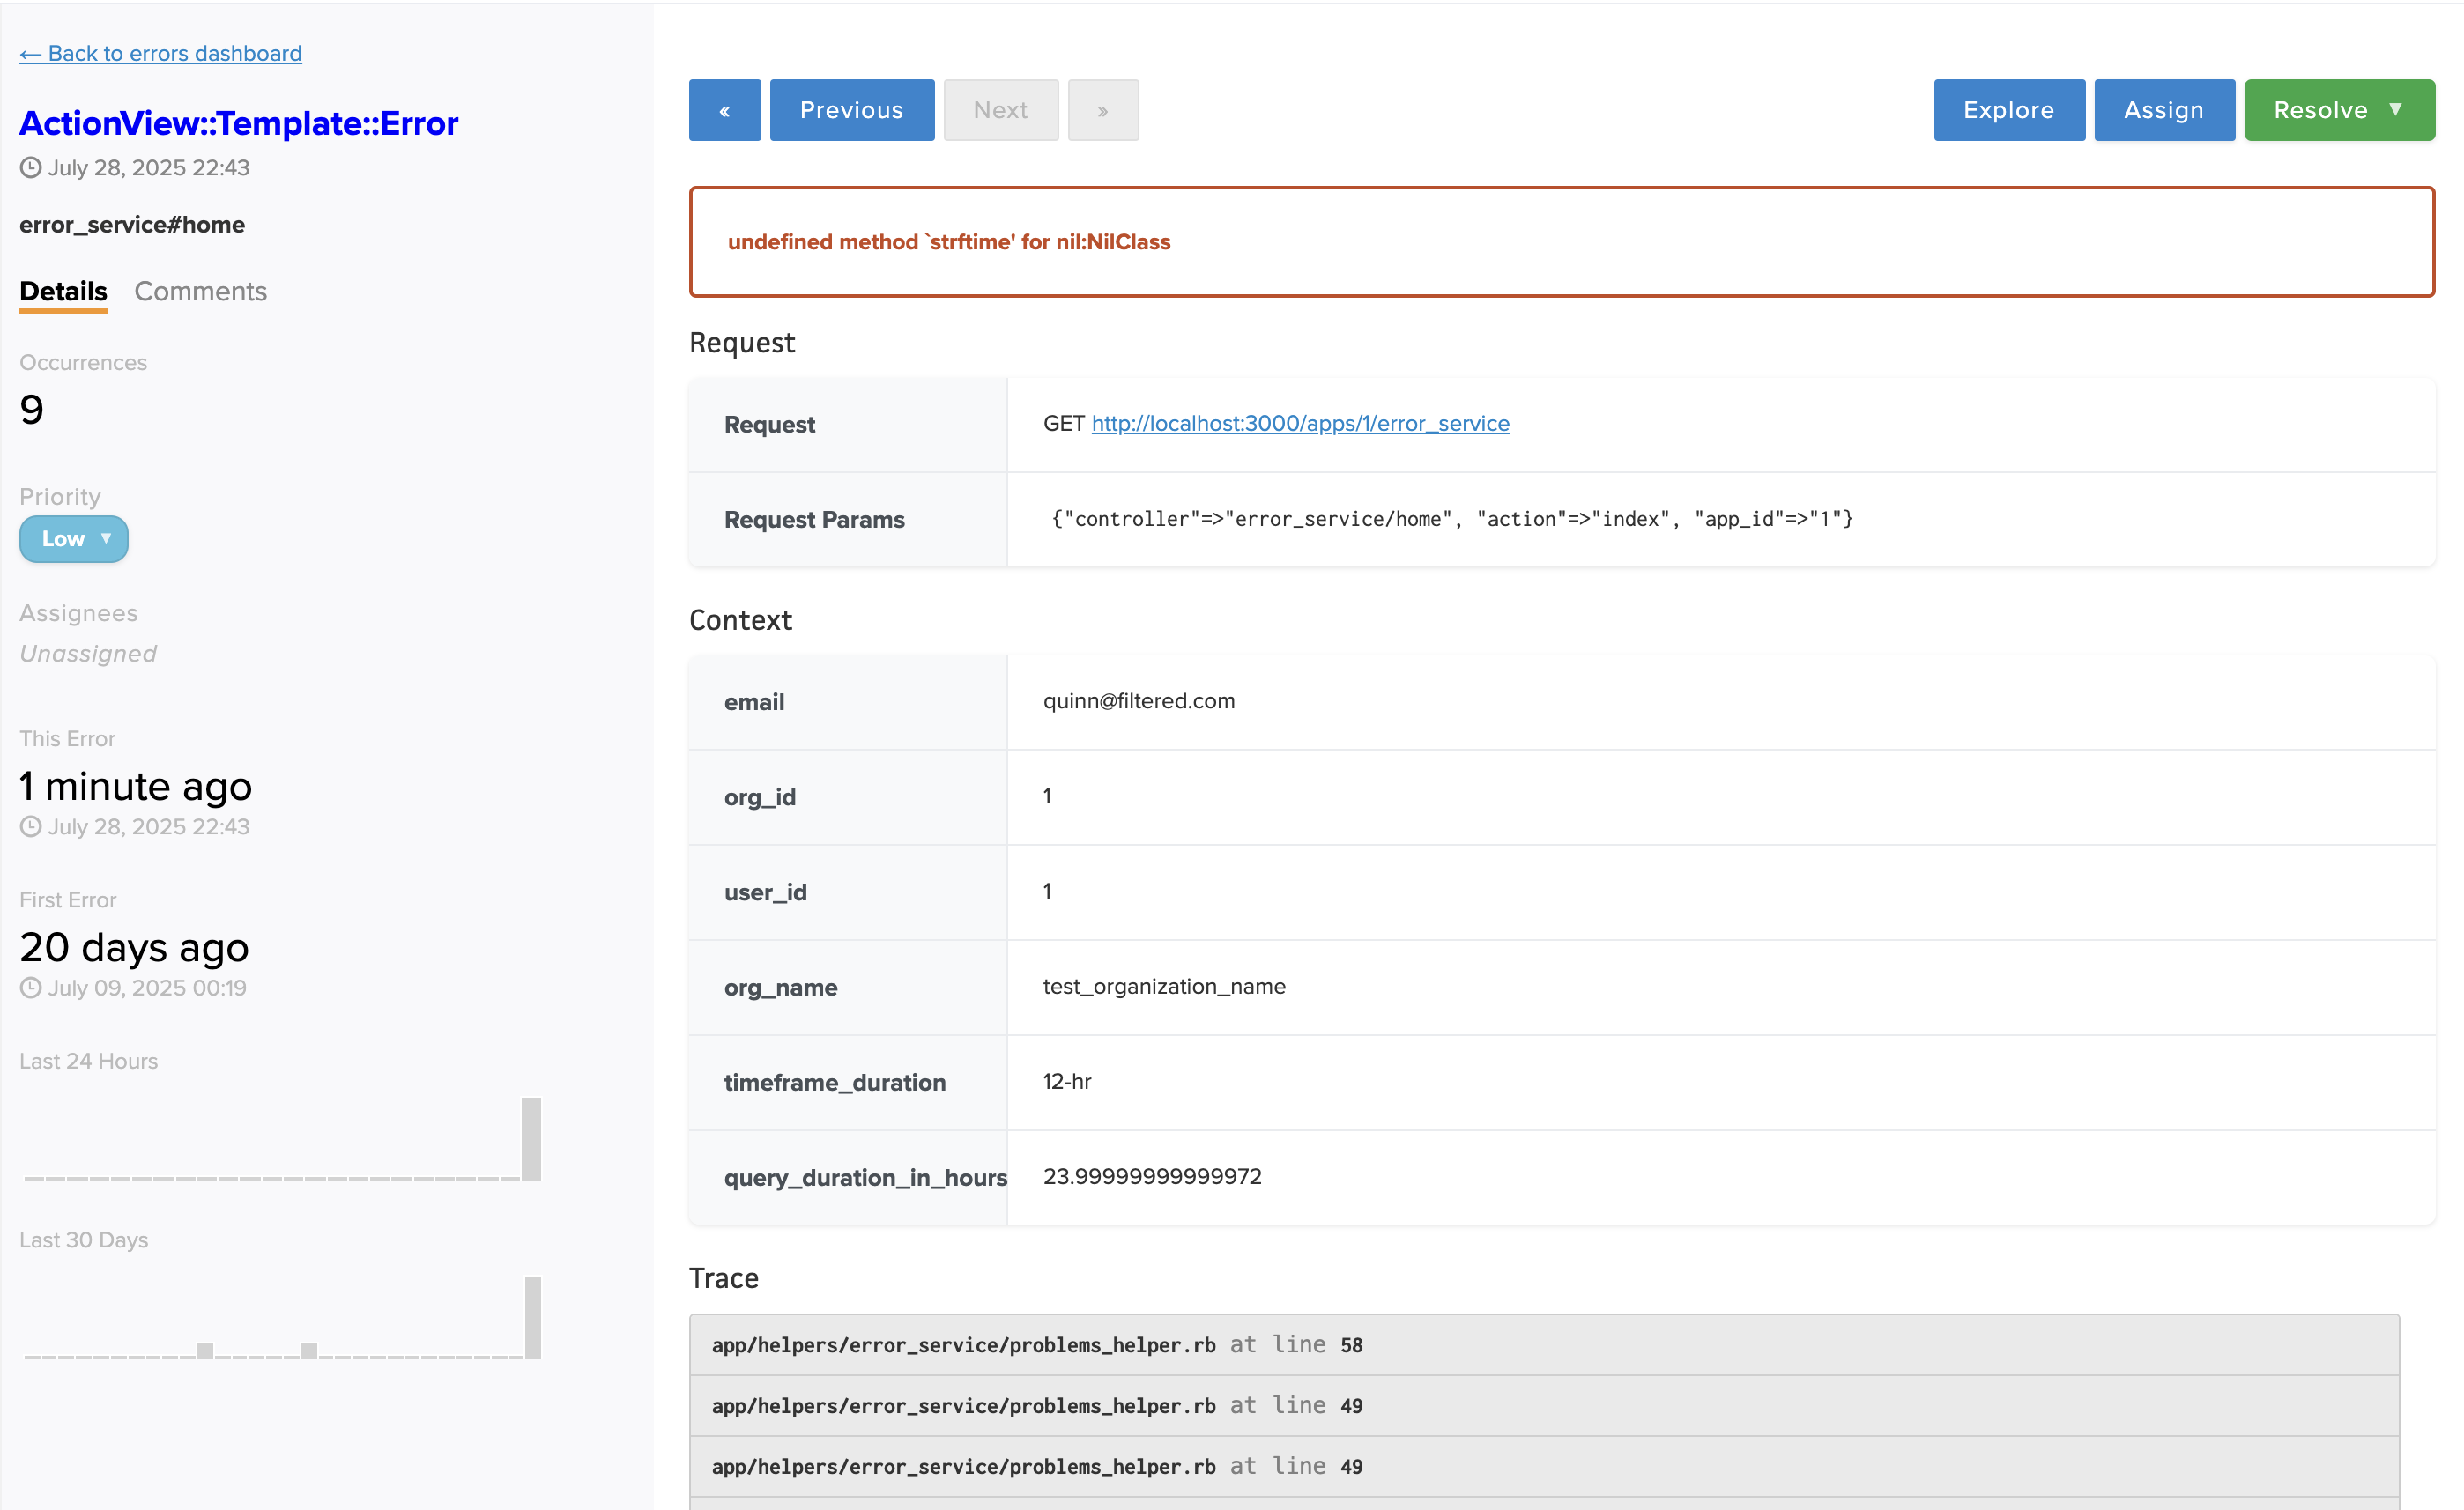
Clicking on any error group takes you to the detailed error view, where you can examine specific error instances and perform triage actions.
Error Context
The error detail page provides comprehensive context for understanding and resolving issues:
- Error Trace: Complete stack trace showing the execution path leading to the error
- Request Information: Details about the HTTP request that triggered the error
- Application Context: Relevant application state and custom context data
- GitHub Integration: When enabled, view the exact code that caused the error directly in the interface
Triage Actions
Scout provides three primary triage actions for managing errors:
Resolve
Mark an error group as resolved when the underlying issue has been fixed. Resolved errors are removed from the default view but remain accessible through filtering. If an error occurs after it has been resolved, it will become unresolved and considered active again.
Defer
Temporarily silence an error group until a specified date and time. This is useful for:
- Known issues scheduled for future releases
- Errors that require coordination with external teams
- Non-critical issues that can be addressed during planned maintenance
To defer an error, hover over the Resolve button and select the defer option, then choose your desired date and time.
Reactivate
Reopen previously resolved errors if issues resurface or were prematurely closed. Errors will be automatically reactivated if a previously resolved error occurs again.
Priority Management
Set error priorities to help your team focus on the most critical issues:
- High: Critical errors requiring immediate attention
- Medium: Important issues that should be addressed soon
- Low: Minor issues that can be resolved when time permits
Error Exploration
Use the “Explore” button to access a comprehensive list of all individual error occurrences. Scout retains error data for 30 days.
Critical Endpoints
Scout’s critical endpoint feature automatically elevates the priority of errors occurring on your most important application endpoints.
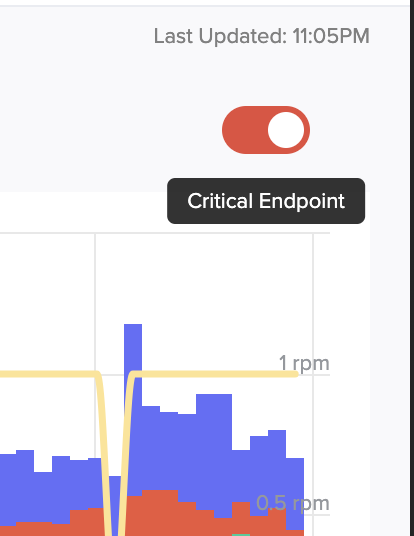
Marking Critical Endpoints
To designate an endpoint as critical:
- Navigate to the Web Endpoints view
- Select the specific endpoint you want to mark as critical
- Toggle the critical endpoint slider in the top-right corner of the endpoint header
Automatic Priority Assignment
When an endpoint is marked as critical:
- All new errors from that endpoint are automatically assigned High priority
- This ensures immediate visibility for errors on your most important application paths
Priority Persistence
Important notes about critical endpoint priority management:
- Errors that occurred while an endpoint was critical retain their high priority even if the endpoint is later unmarked
- This ensures that historical high-priority errors maintain their status for consistent tracking
- Only newly occurring errors are affected by changes to critical endpoint status
Retention and Data Management
Scout retains error data for 30 days, providing sufficient time for analysis and resolution tracking. This retention period allows teams to:
- Identify recurring error patterns
- Analyze error trends over time
- Maintain historical context for resolved issues
- Support post-incident analysis and learning
Team Collaboration
Assignment
Assign error groups to specific team members to clarify ownership and ensure accountability:
- Select one or more error groups from the main interface
- Use the assignment dropdown to designate responsible team members
- Assignments are visible on both the main error list and individual error detail pages
- Team members can filter errors to see only those assigned to them
Notifications
Scout’s notification system keeps teams informed about error activity:
- High-priority errors trigger immediate notifications
- Notifications are sent to configured notification groups and channels (not based on individual assignments)
- Deferred errors send notifications when they become active again
FAQ
How are errors grouped together?
Scout automatically groups similar errors based on the error type, location in code, and request components. This intelligent grouping helps reduce noise and allows you to focus on underlying issues rather than individual error instances.
How do notifications work with deferred errors?
When you defer an error, Scout stops sending notifications about new occurrences until the specified date and time. Once the deferral period expires, the error group becomes active again and normal notification rules apply.
What happens if I disable errors on a critical endpoint?
If you remove the critical endpoint designation, only new errors will be affected. Existing errors that were marked as high priority while the endpoint was critical will retain their high priority status.
Does error tracking affect application performance?
Scout’s error tracking is designed to have minimal performance impact. Error capture and reporting happen asynchronously and use efficient data structures to avoid affecting your application’s response times.